So, when I started learning to make my own custom apparel, every blank shirt turned into a blank canvas. Every Holiday and school celebration suddenly has become an opportunity to make a one of a kind statement piece.
Yesterday was Valentine's Day, so I seized the excuse to rush to the store and buy two white shirts. My first attempt didn't quite turn out as planned. One of Olaf's buttons went missing and I didn't realize it until after I had painted on the sparkly silver. Did my Daughter care? Nope! She absolutely loved her Frozen inspired tee.

My second attempt went off without a hitch! I paid more attention to the inner parts of the stencil so that I didn't have another button fiasco. I also did two coats of paint to ensure the black and red were saturated fully. Letting the first layer dry for a half hour before applying the second. The final result:

They both were so happy and asked if they could wear them prior to their classroom parties on Friday. My son has worn his the past 3 days straight. I will be sneaking it into the laundry pile this evening! ;)
After completing these two shirts, I can honestly say that I have been having a total BLAST painting shirts. The possibilities are endless, and that excites me to no end.
So, I decided to capture the start to finish of a new shirt. A little behind the scenes look into the steps and the how to of painting shirts.
First you will need a clean shirt and a cardboard tee shirt form. I am cheap, so I just used a piece of cardboard from one of the many random boxes in our garage.

I have folds on each end so that it fits smaller and larger shirts, again, you could have several shirt forms if you'd like. Again, I'm cheap.
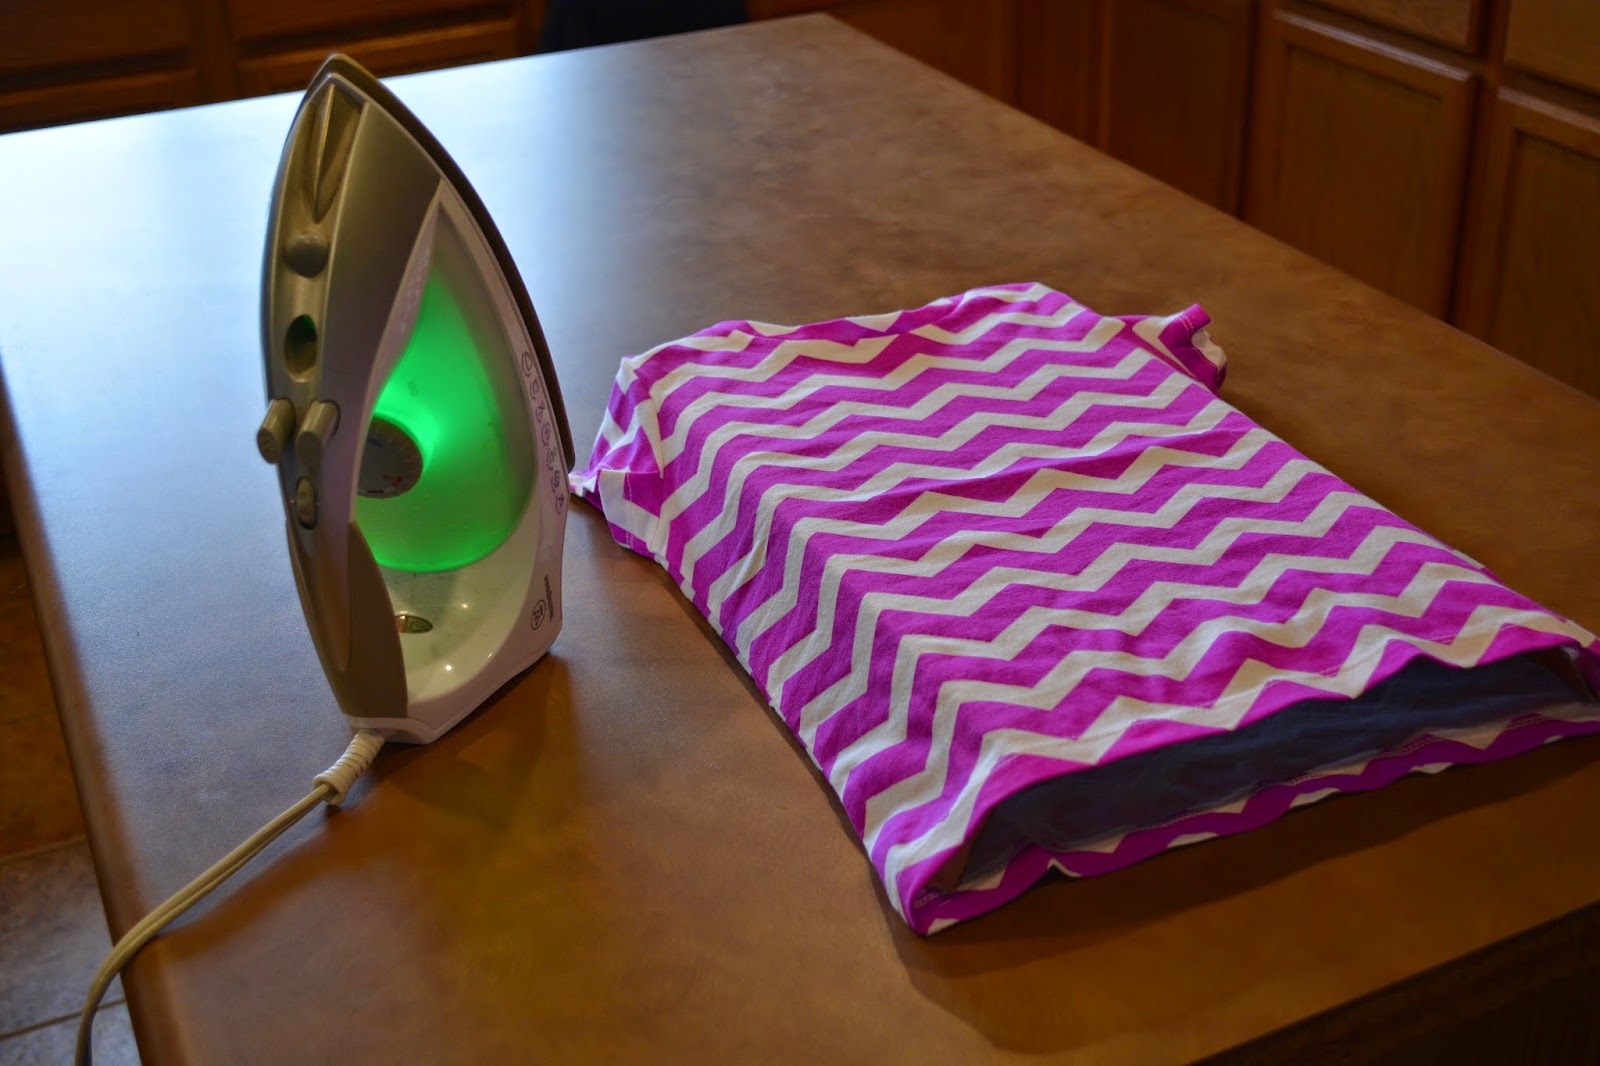
This is a great time to heat up your iron. I use a Medium setting.

I have my spouncer (round sponge brush) and a half dollar size of FolkArt Fabric paint in black.

While I am setting up the ironing/painting portion of my project, I have my Silhouette Cameo cutting my freezer paper stencil that I made.

I had never used freezer paper before, but boy will I use it in the future! This stuff is so great! The top side of it is shiny with a plastic coating. The reverse side is paper. So when you iron it down onto the fabric, it melts the plastic and creates a seal so your stencil doesn't bleed.

I've read a million tutorials about freezer paper. What I learned, is that you have to try different settings on your die cutter and also, decide if you want the shiny/plastic side up or down on your cutting mat. I personally prefer it up. When I remove it, it's curved the correct way making it easier to smooth down. Pictured above you can see what the freezer paper looks like after it's been cut. Next step is called weeding. This is where you remove the negative space so you have then revealed your stencil.

Weeding freezer paper is a delicate process as it tears easily. I choose to keep it stuck on my cutting mat until I am finished weeding.

Progress!

Finished! Notice that my design is flipped horizontally. (This is because when I remove it from the cutting mat, it will be placed shiny/plastic side down) Next is removing the stencil from the cutting mat. This too is done with care as there are small sections that will tear if you just rip it off. See below.

When making a stencil that has inner and outer layer, you will first place and iron down the outer. As pictured below. (Notice the inside of the face and the letters A, O, R and G are missing)

This is when things get very detailed. Below are the inner pieces that must be placed inside the stencil. I do this one small piece at a time to ensure proper placement.

Thankfully I have long nails and they come in handy when holding a small piece in place as I touch the iron over it to set it into place.

An hour later... (just kidding)

Notice the insides are now ironed down leaving a finished stencil.


This is where I got overly excited and forgot to take photos. I painted two layers of black. After I finished the second coat, while it was still wet, I sprinkled glitter on top to add some sparkle.

I allowed it to dry for 4 hours and then removed the stencil. Peeling back carefully so I didn't stretch the fabric.

Once the outer part of the stencil was removed, I grabbed my tweezers and removed the smaller inner portions of the stencil.

Removing the stencil is the funnest part! Revealing your image and hard work.

Once it has dried overnight, I place a cloth over the design and heat set the paint.

Viola! A custom shirt with sparkles to boot!

Are you kitten me right meow!? This shirt is just too cute!
Like what you see? Have an idea you want brought to life?
Follow us on Facebook (click here) or Instagram @sparklespaceaz
Let's put some sparkle in your space!